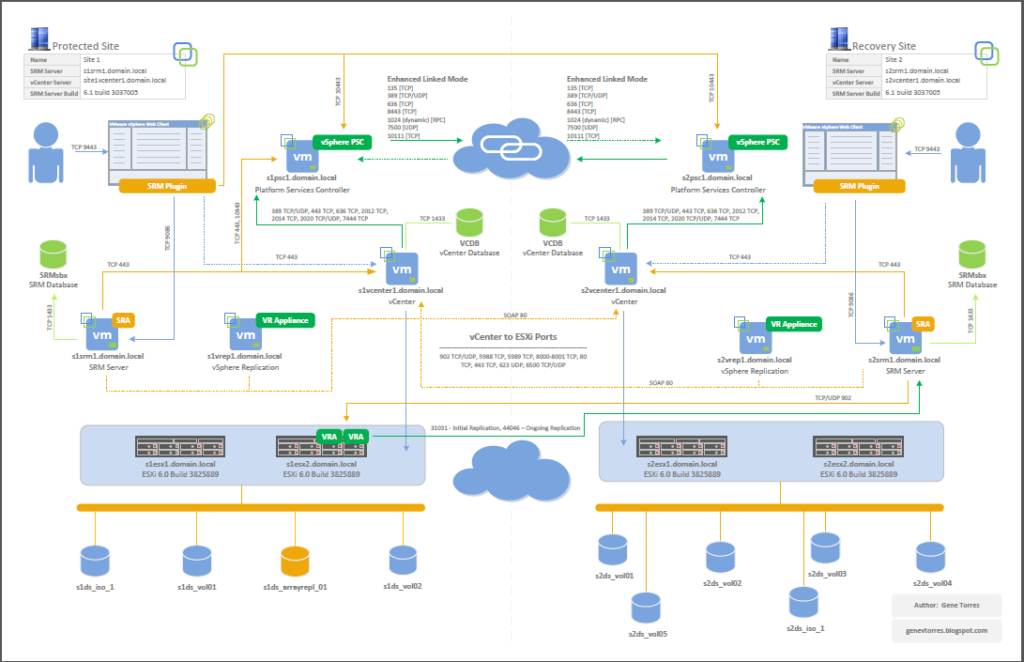
In many cases for small environments, it makes sense to deploy a vCenter Appliance with an embedded Platform Services Controller. In larger environments with multiple sites, although you can (doesn’t mean you should) manage remote hosts with a single vCenter, it may make more sense to deploy a vCenter in each site, or region to further increase availability. Furthermore, by configuring Enhanced Linked Mode, you can make management simpler by being able to link vCenter systems and replicate roles, permissions, licenses, policies, and tags; instead of having vCenter servers which are all managed individually.
Enhanced Linked Mode not only allows you to connect Windows vCenters, or just vCenter Server appliances; you can have an environment where Windows vCenters as well as vCenter Appliances can be linked together. That said – there are supported and unsupported topologies, which is beyond the scope of this, however, you can find the information for those topologies in this VMware KB Article.
The following procedure is my re-creation of our production topology in a test environment. The steps will walk through standard installation and configuration of the vCenter servers and PSCs in Enhanced Linked mode to get a to a usable state. The follow-up post to this will be related to Installing the second PSC and vCenter, linking to the SSO domain and site created in this how-to.
Disclaimer: The following information and procedures are performed in an isolated environment, and I am building these with the absolute minimum requirements since my test environment is a single physical host that also hosts other test machines in use by another engineer. If performing these steps in production, be sure to follow proper sizing best practices, and built to suit your particular environment using the resource links provided throughout the article.
Hardware Requirements: vCenter Server for Windows
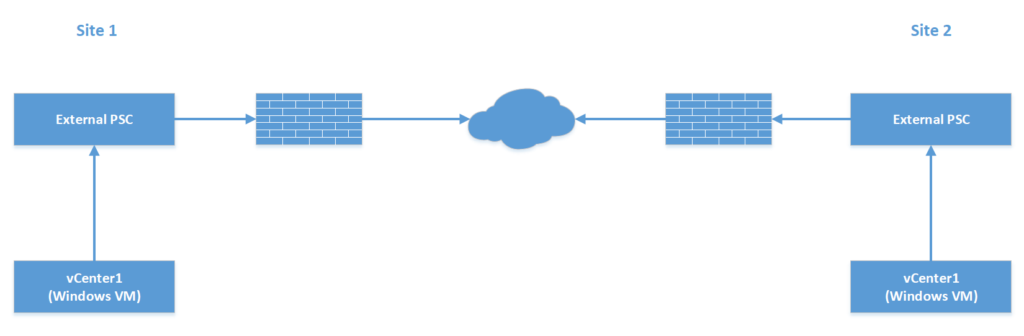
Before we get into the installation procedure, here’s an idea of what I’m building and the topology I will be using.
(All servers listed below are running Windows Server 2012 R2)
- 1 Active Directory Domain Controller
- 1 Single Sign-On Domain
- 2 Sites (simulated)
- 2 External Platform Services Controllers (one for each site)
- 2 vCenter Servers (one for each site)
Install a Platform Services Controller on a Windows Host
- Verify system meets the minimum HW/SW requirements
- Download the vCenter Server Installer
- Install Adobe Flash Player version 11.9 or later if you will be running using the vSphere Web Client from one of the host machines.
- Forward and Reverse DNS entries should be created for each system prior to installation.
Installation
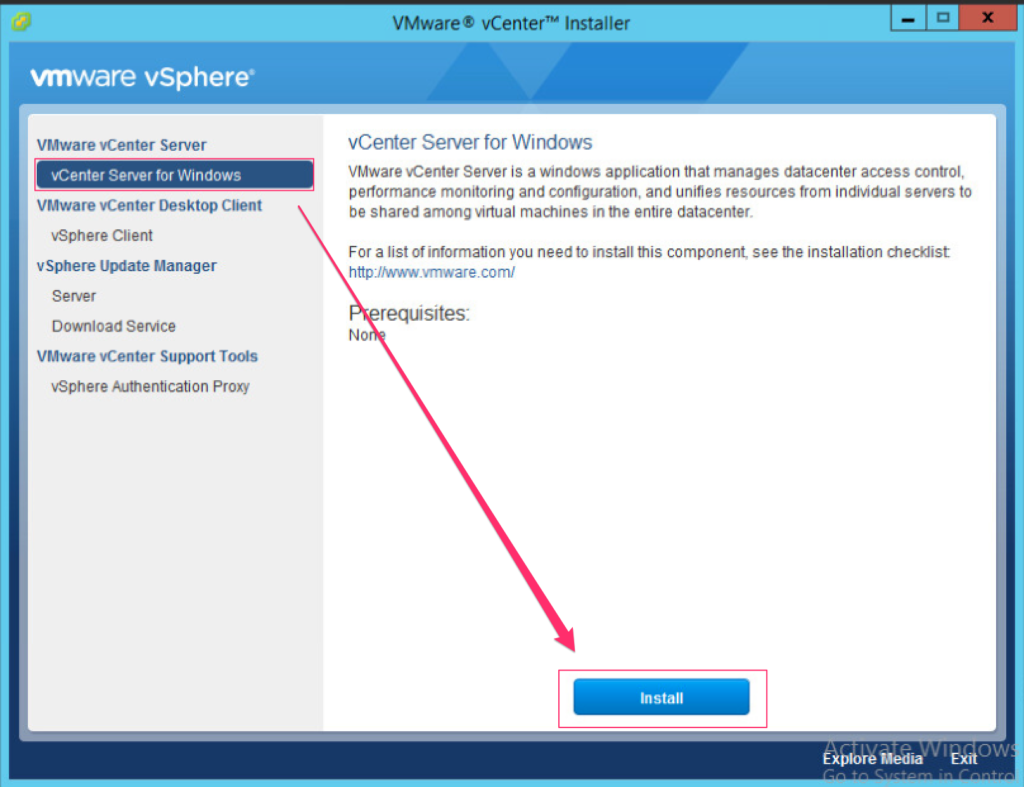
- Launch the vCenter installer and select vCenter Server for Windows. Click Install.

- Once the installer initializes, click Next.
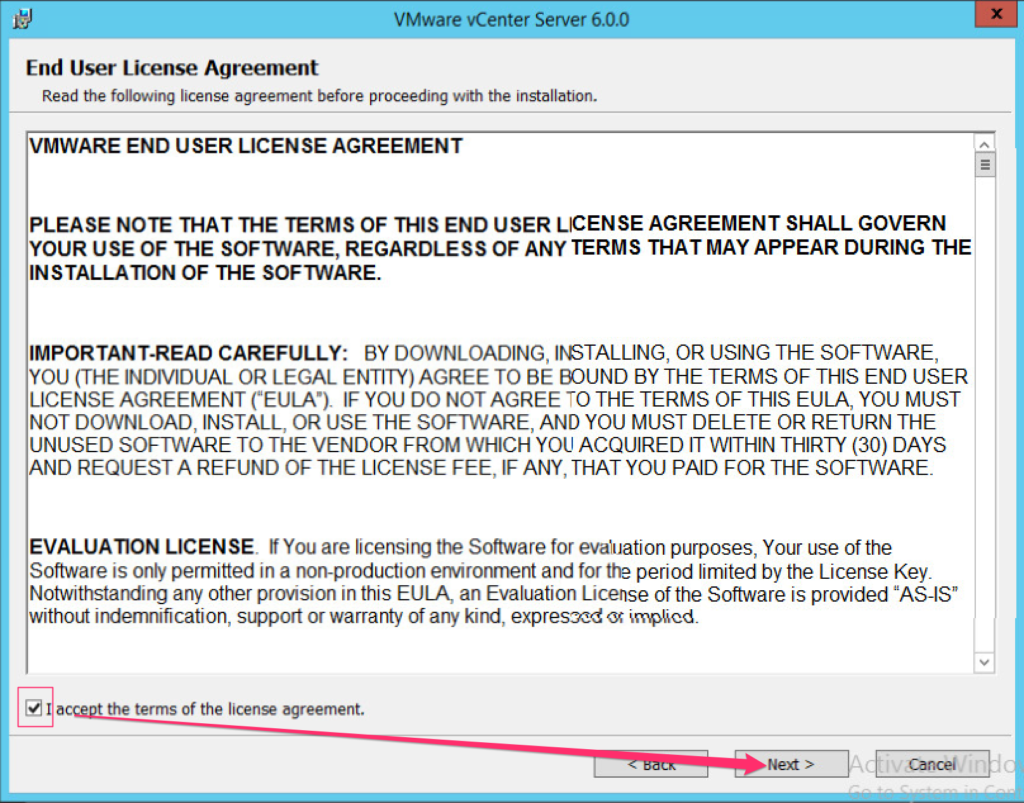
- Accept the VMware End User License Agreement, and click Next.
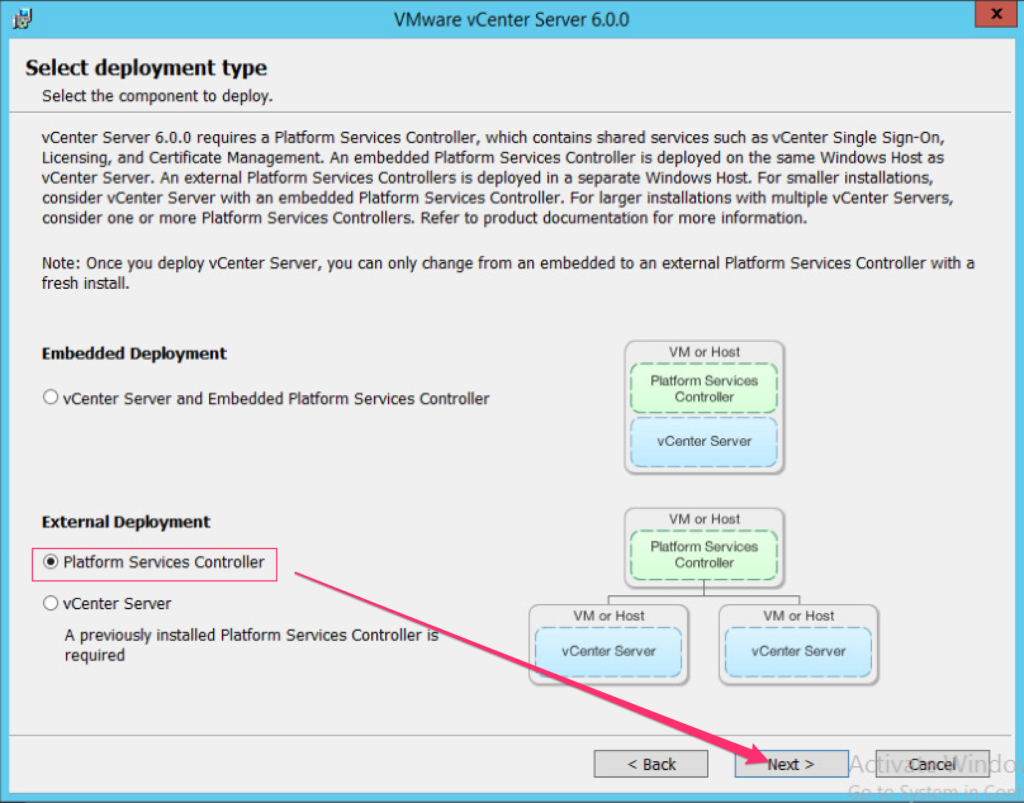
- Under External Deployment, select Platform Services Controller and click Next.
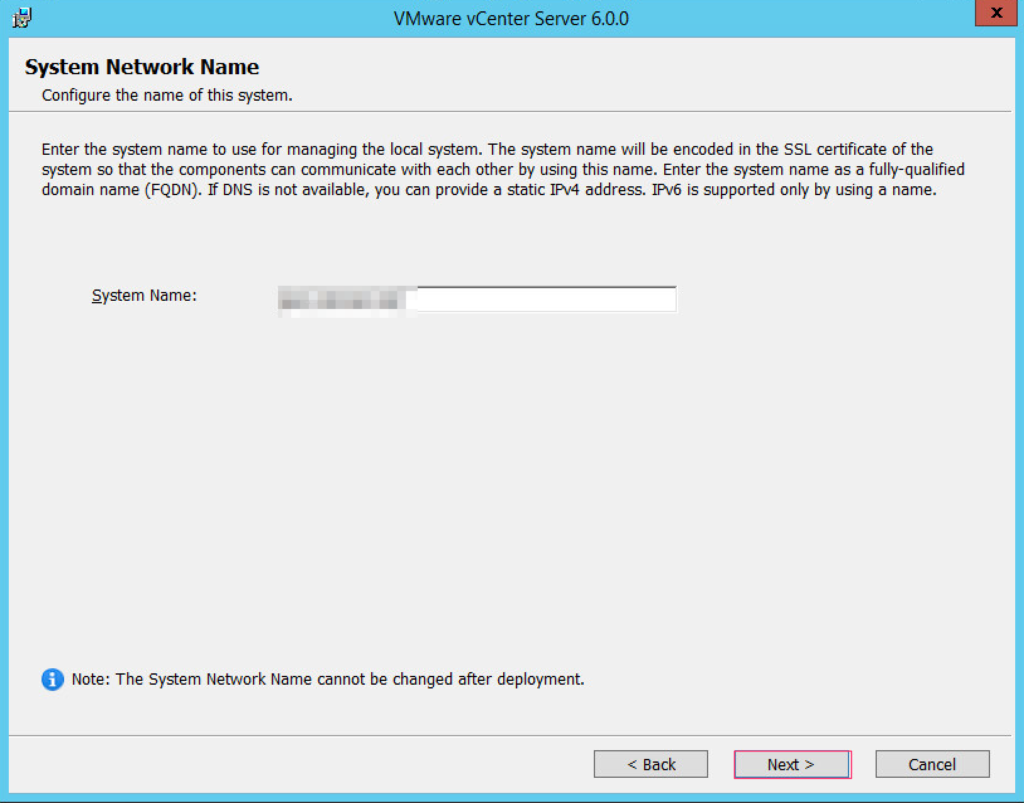
- Enter the system’s FQDN, and click Next.
- If this is the first PSC being created, create a new Single Sign-On Domain, set the password, provide the site name, and click Next.

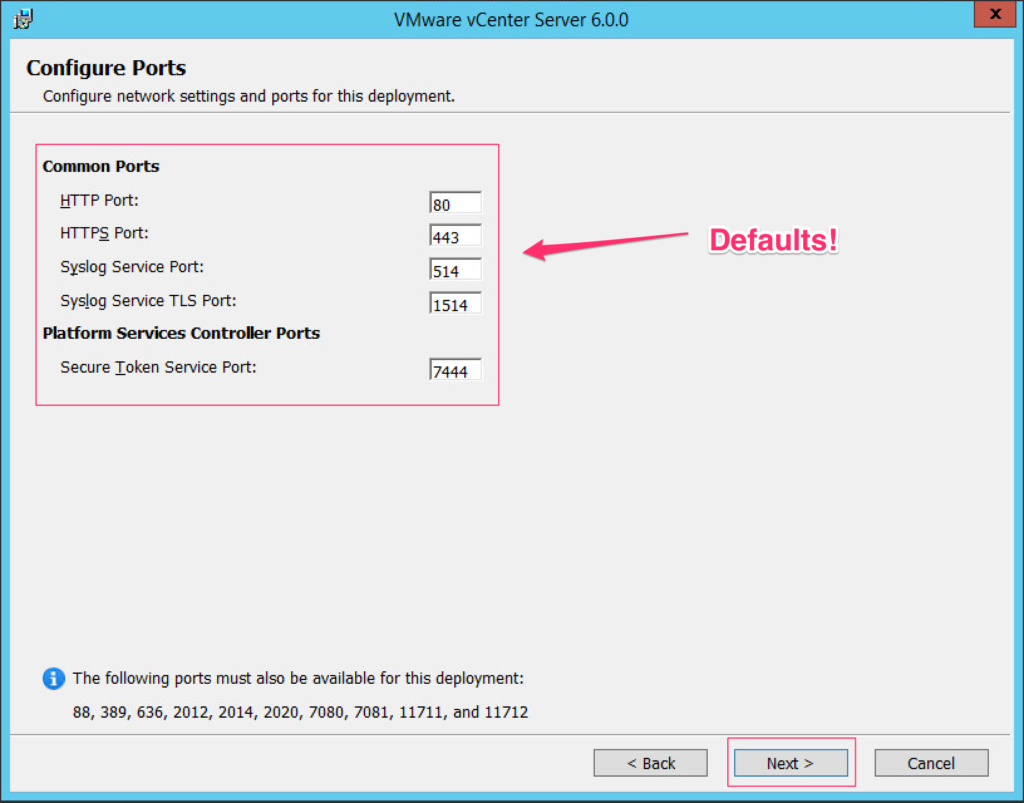
- Configure the ports as needed (I left this at the defaults, as I have no need to change them), then click Next.
- Change the installation and data directories as needed and click Next. For my implementation, I kept the defaults, since this is not production.

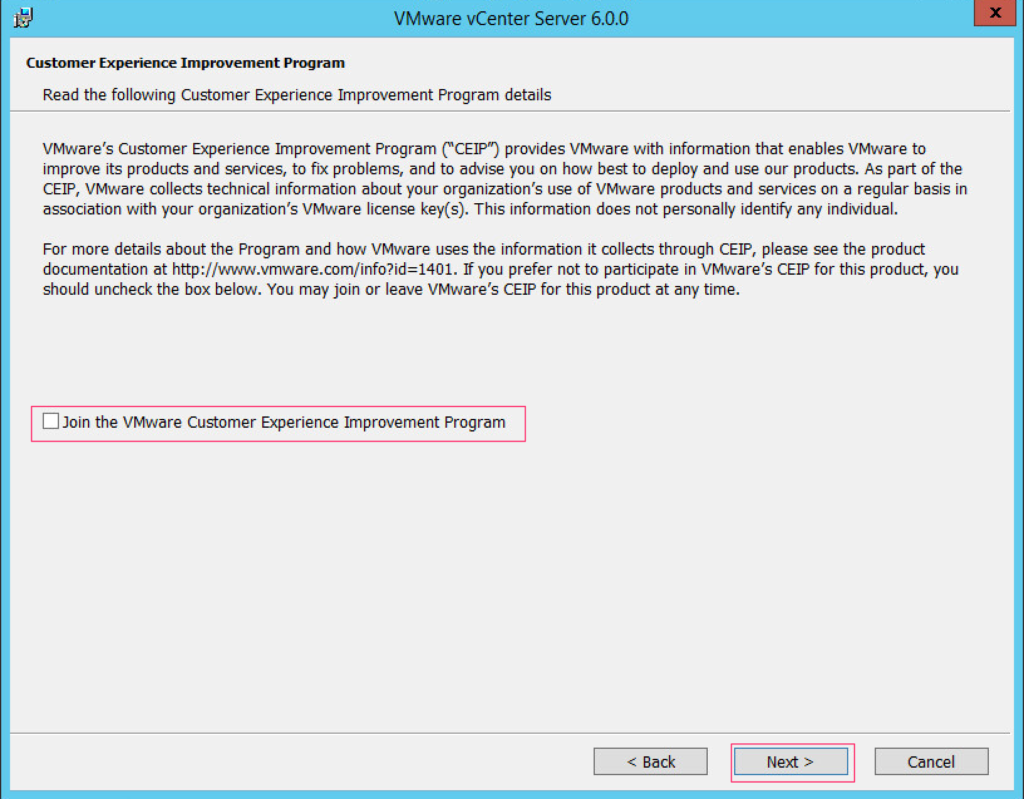
- Select whether or not you want to join the customer experience improvement program (CEIP), then click Next. Since this is an isolated environment with no external internet access, I unchecked it.
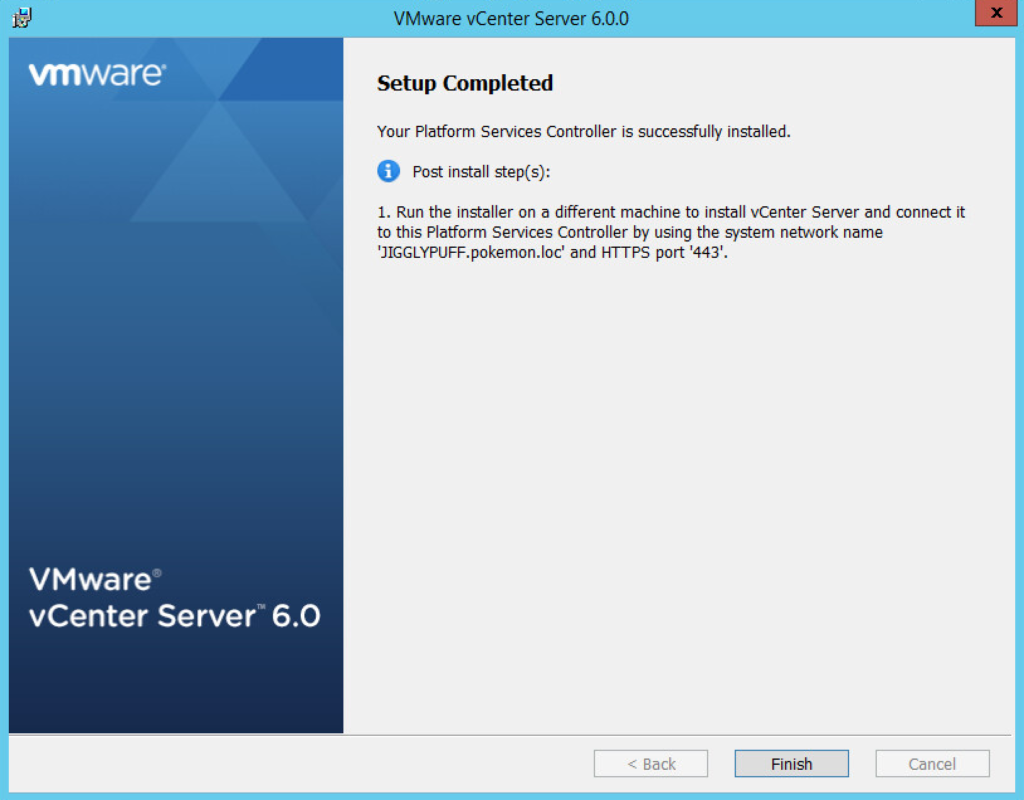
- At the Ready to Install screen, verify settings, and if everything looks good, click Install. When done, the installer will provide you with next steps (convenient!)
Install vCenter and the vCenter Components
- Launch the vCenter installer and select vCenter Server for Windows, then click Install.
- Once the installer initializes, click Next.
- Accept the VMware End User License Agreement, and click Next.

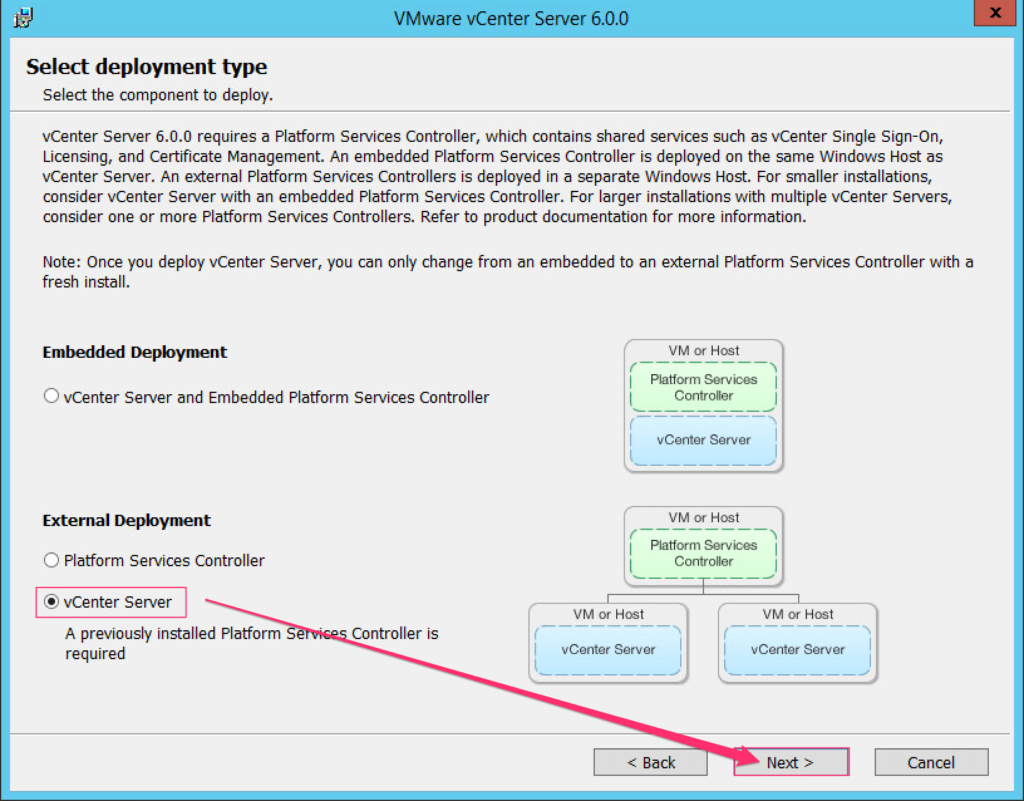
- Under External Deployment, select vCenter Server and click Next.
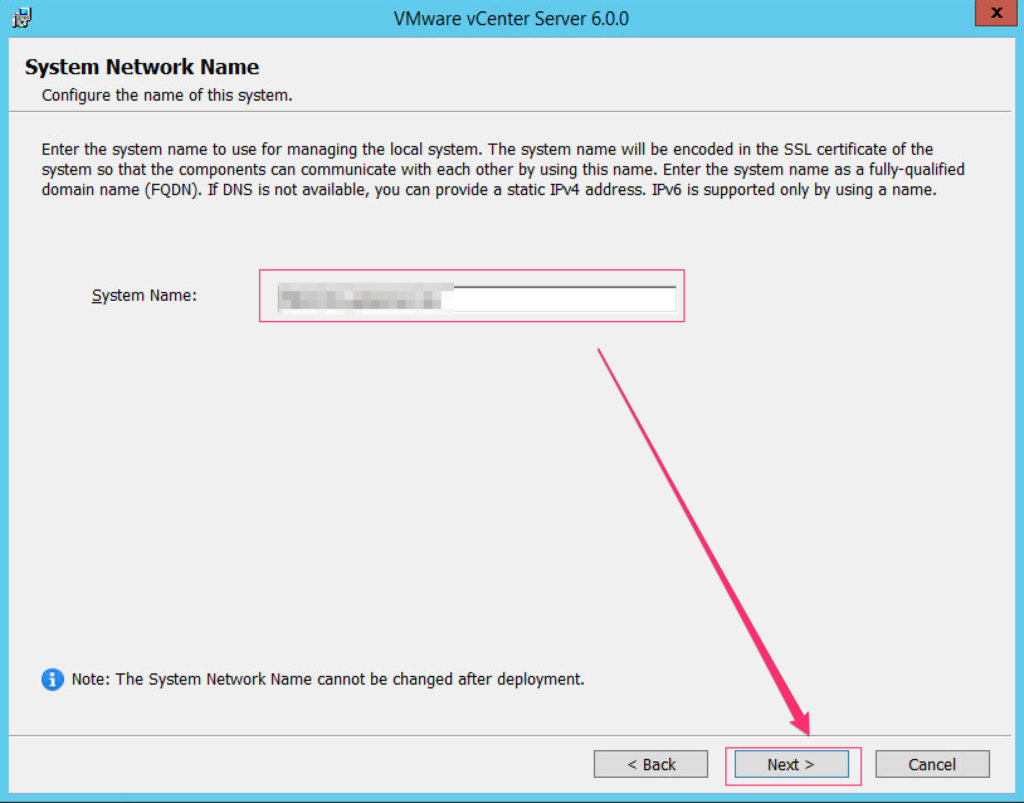
- Enter the system’s FQDN, and click Next.
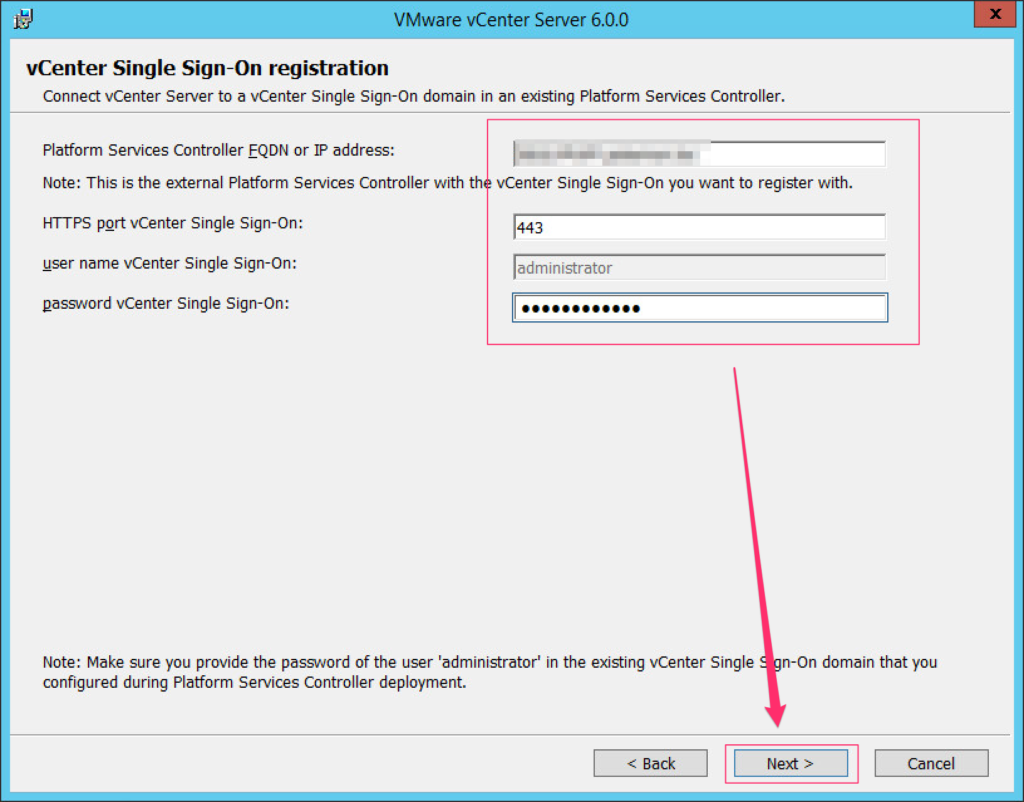
- Enter the information for the external PSC that was deployed in the section above, and click Next. This step will register the vCenter with the PSC.
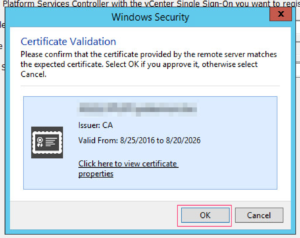
- When prompted for certificate validation, click OK to approve the self-signed certificate created by the PSC
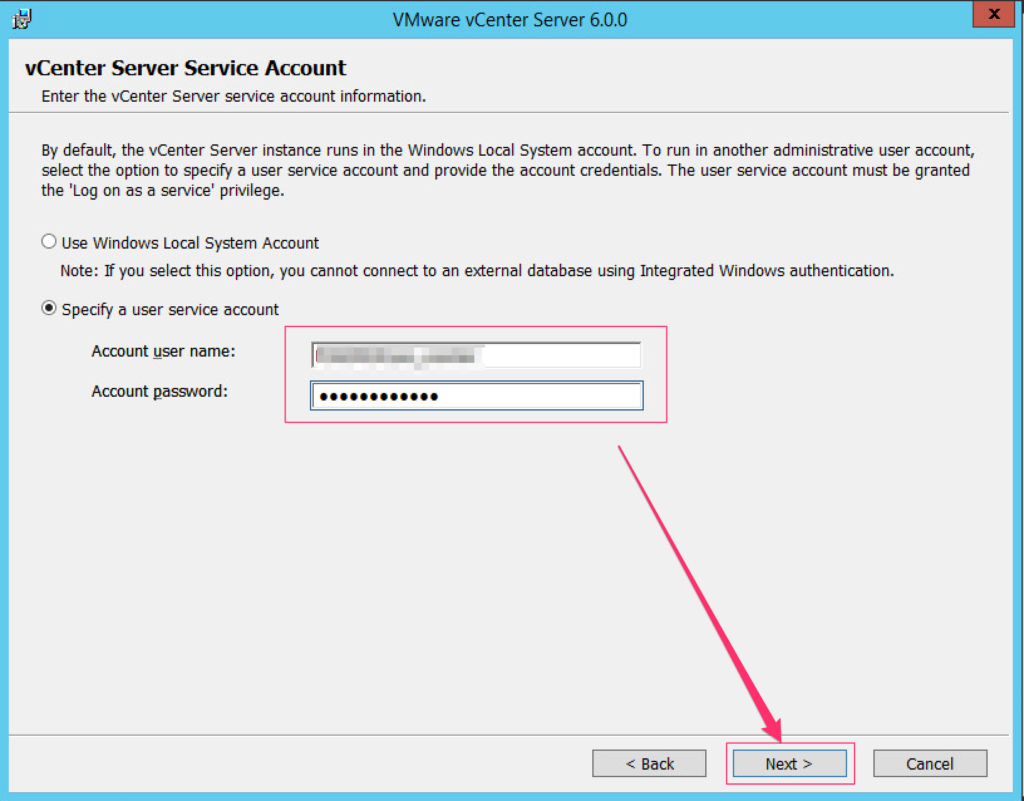
- Configure the vCenter service account according to your environment requirements and click Next. If you are using an external database server, you will need to specify a user service account.
Note: If you are using a user service account, you will need to make sure it has the “log on as a service” privilege in the local security policy.
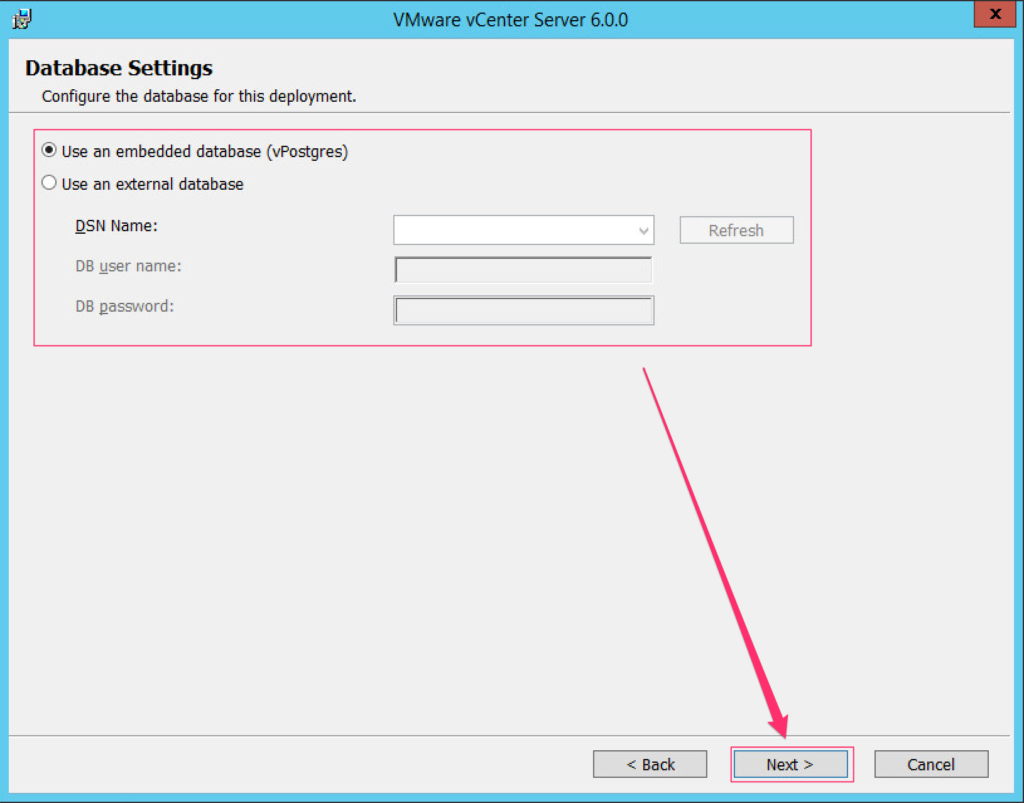
- Select your database deployment and enter information if necessary, then click Next.
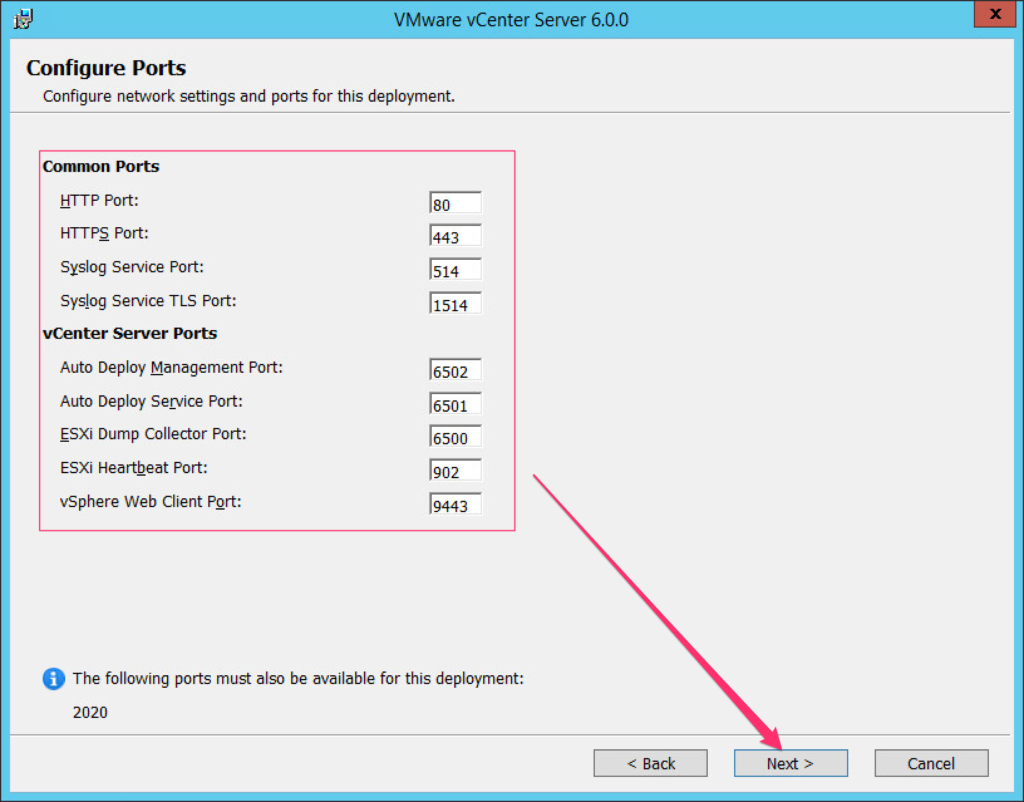
- Configure the required ports if necessary to match your environment, and click Next.
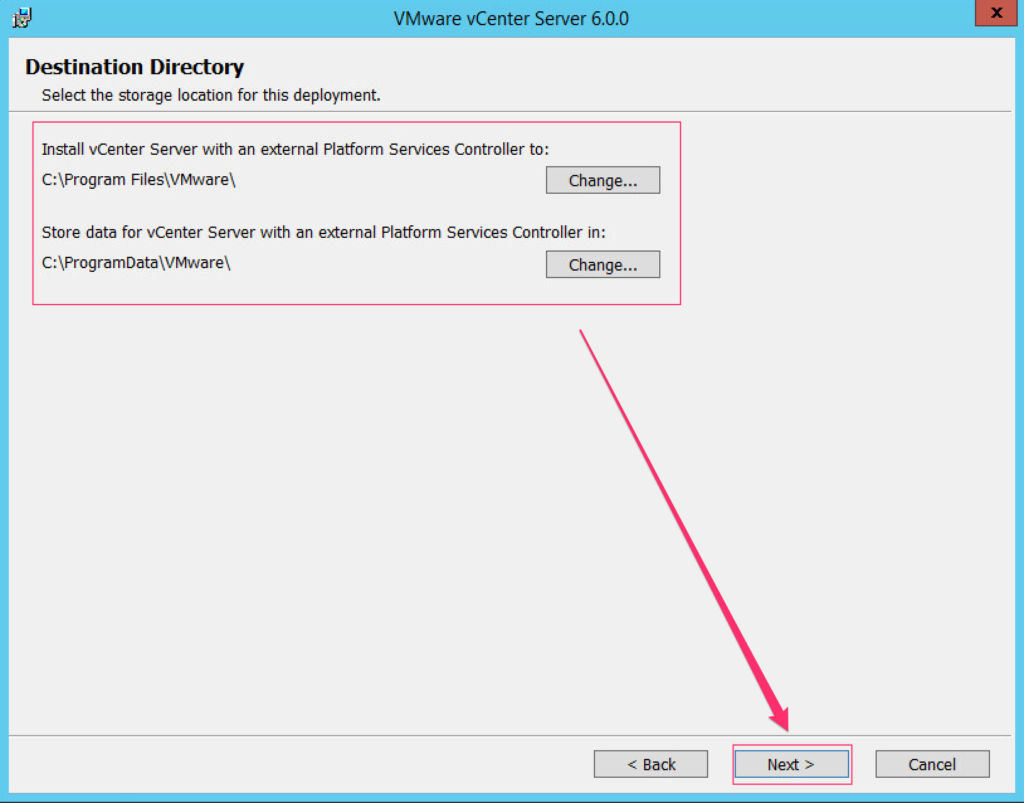
- Configure the installation directory for the vCenter Server and data, then click Next.
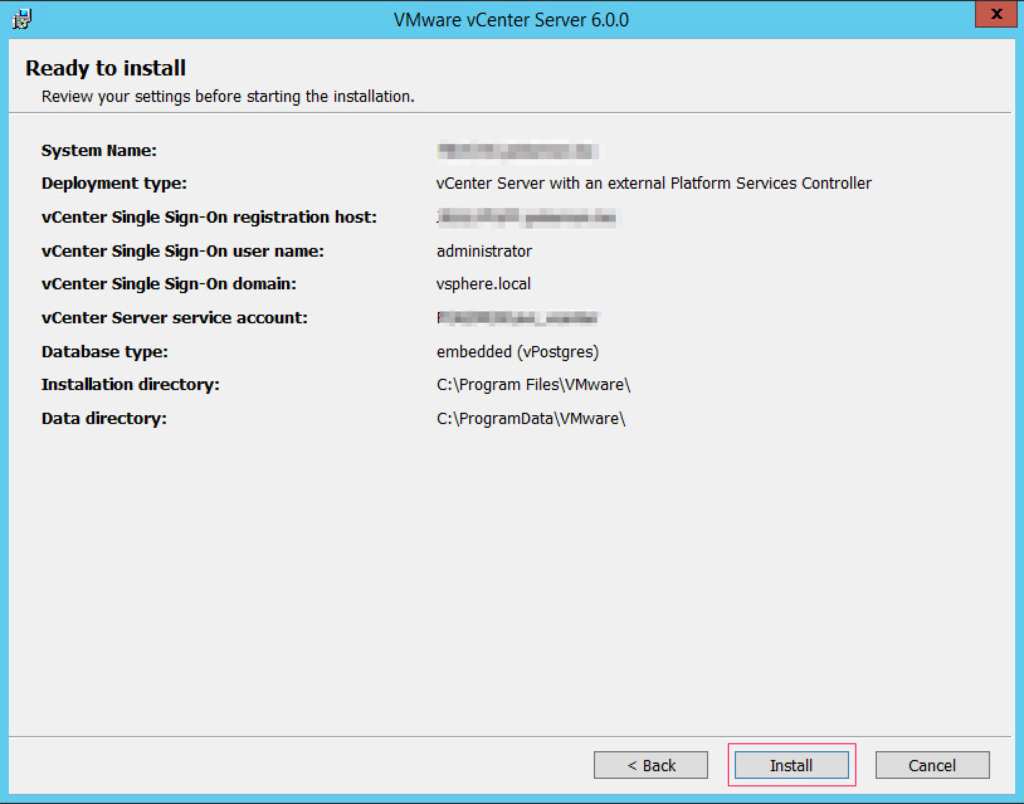
- Review all settings, and when ready, click Install.
- Configure vCenter to integrate with your Active Domain or LDAP server as needed.
- Configure any group memberships, roles, permissions, licenses, etc…
- Install the next PSC and be sure to join the existing Single Sign-On domain that you just created. Following that, install the next vCenter, and you are done!